
Step-by-Step Tutorials
Tutorial: Creating Your First Watch
Step-by-step guide to adding someone to monitor
Last updated February 25, 2026
Creating Your First Watch: Complete Tutorial
This tutorial walks you through adding your first person to monitor, with tips for maximum accuracy.
What You'll Learn
- How to access the Add Watch form
- Required vs optional fields
- Best practices for accuracy
- What happens after you create a watch
Step 1: Access the Add Watch Form
There are three ways to add a watch:
Option A: Dashboard Button
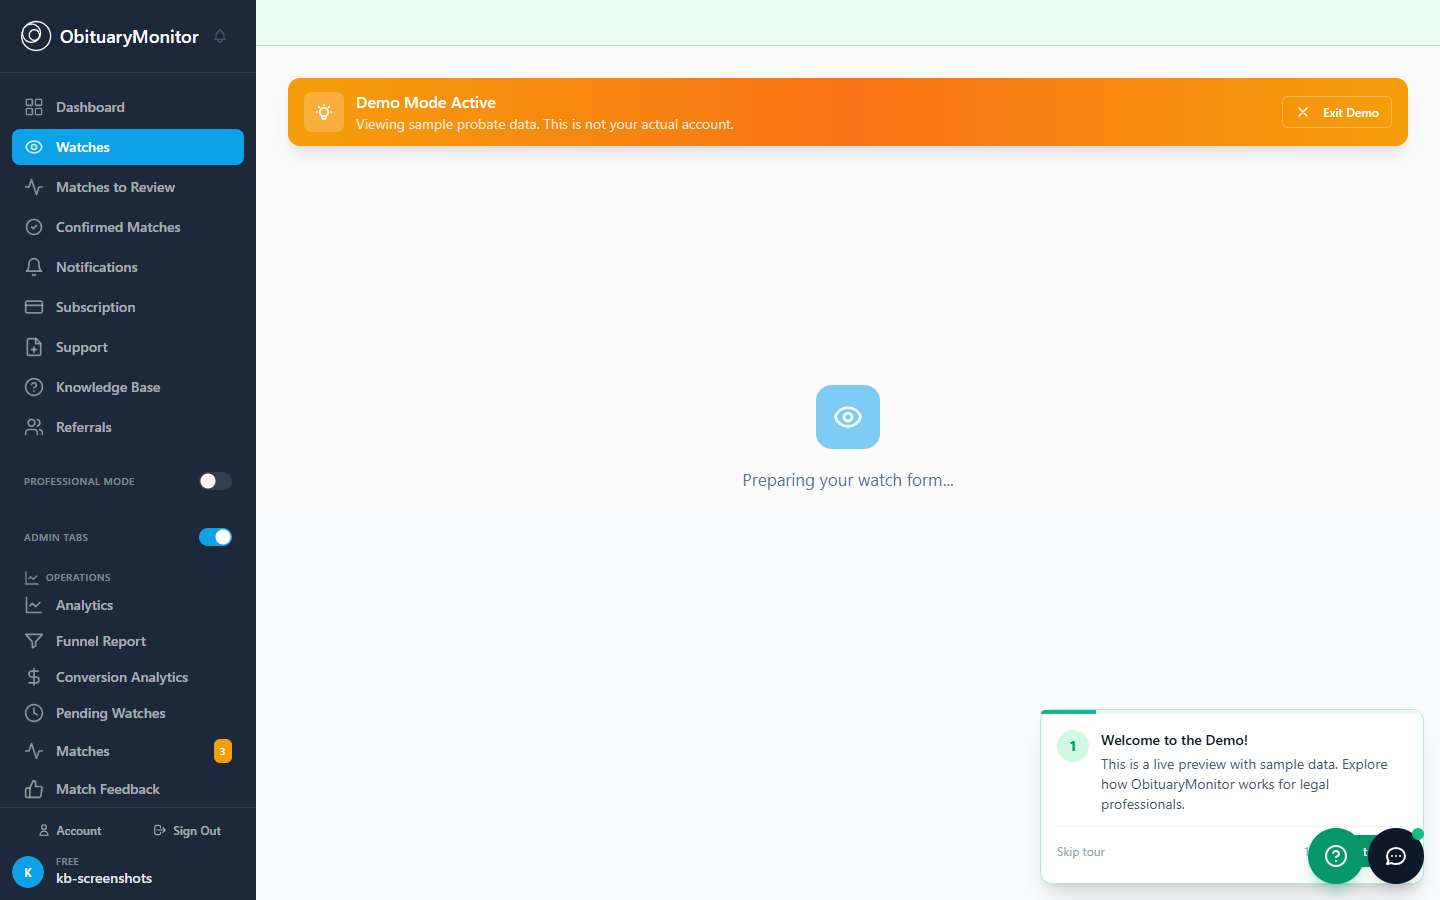
- Go to your Dashboard
- Click the green "Add Watch" button
- The form will open
Option B: Watches Page
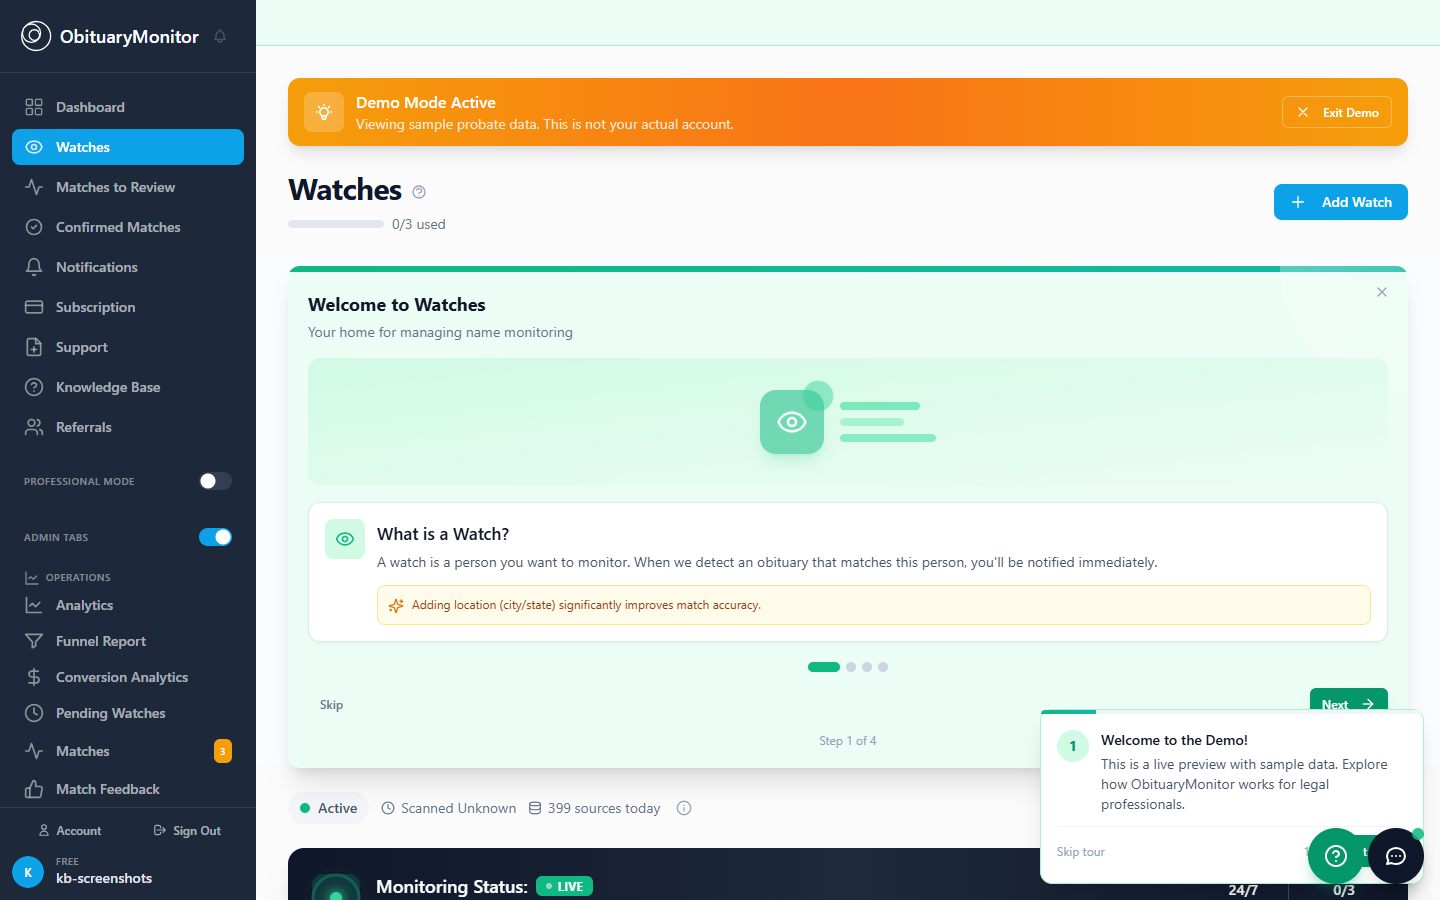
- Navigate to Watches in the sidebar
- Click "+ Add Watch" in the top right
- The form will open
Option C: Keyboard Shortcut
- Press "N" anywhere in the app
- The Add Watch form opens immediately
Step 2: Enter Basic Information
Required Fields
First Name (Required)
- Enter the person's legal first name
- We automatically check nicknames (John = Johnny, Jack, etc.)
Last Name (Required)
- Enter the exact last name
- Must match exactly for a match to occur
Optional but Recommended
Middle Name
- Helps distinguish common names
- If unknown, leave blank (no penalty)
Step 3: Add Location Details
Location is the #1 factor for reducing false matches.
State (Highly Recommended)
- Click the State dropdown
- Select the state where the person lives/lived
- You can add secondary states later
City (Optional but Helpful)
- Further narrows search results
- Great for common names in large states
County (Optional)
- Useful for rural areas
- Some obituaries list county instead of city
Step 4: Add Optional Identifiers
These fields significantly improve match accuracy:
Approximate Age
- Enter an age range if known
- Helps filter out people with same name but different age
Known Relatives
- Obituaries often mention family members
- Great for common names
- Example: Mary Smith (spouse), James Smith (son)
Maiden Name (if applicable)
- Important for married women
- We check both names
Step 5: Review and Submit
- Review all entered information
- Check the summary preview
- Click "Start Monitoring"
What Happens Next:
- Watch is created immediately
- Scanning begins within minutes
- You'll see it on your Watches page
- Notifications are enabled by default
Example: Adding a Watch
Let's walk through a real example:
Scenario
You need to monitor "John William Smith" who lives in Cleveland, Ohio and is approximately 78 years old.
Filled Form:
- First Name: John
- Middle Name: William
- Last Name: Smith
- State: Ohio
- City: Cleveland
- Approximate Age: 75-80
- Relatives: Mary Smith (wife)
Result:
- High-precision monitoring
- Low false positive rate
- Instant notification when matched
Common Mistakes to Avoid
| Mistake | Why It's a Problem | Solution |
|---|---|---|
| No location | Too many false matches | Always add at least state |
| Nicknames only | May miss matches | Use legal first name |
| Wrong state | Missed matches | Add secondary states |
| Typos in name | No matches found | Double-check spelling |
After Creating Your Watch
Your watch is now active! Here's what to expect:
- Immediate scanning - We start checking sources right away
- 24/7 monitoring - Scans run continuously
- Email notification - When a match is found
- SMS alert - If you've enabled text messages
Next Steps
Was this article helpful?
